
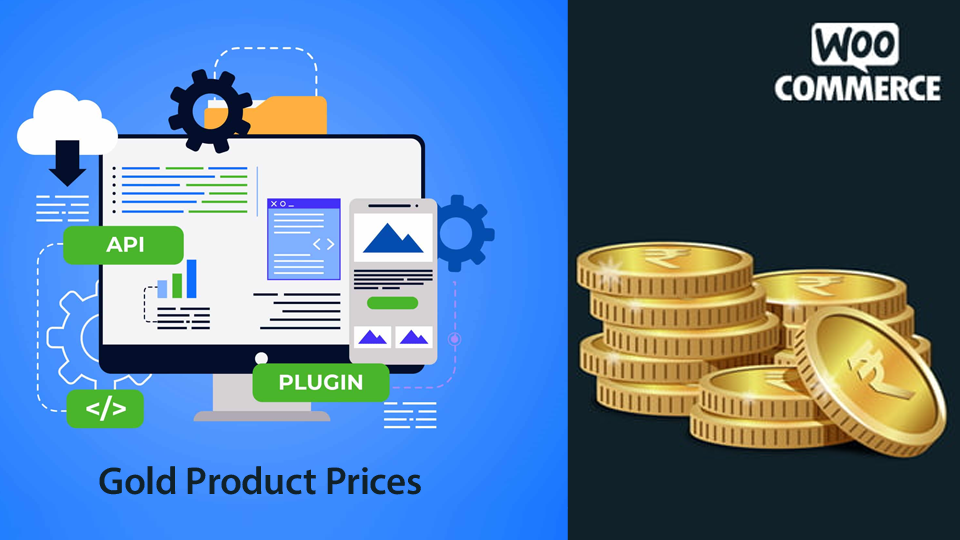
Here’s a step-by-step guide on how to create a plugin using the code we used in the previous tutorial to update gold product prices in WooCommerce with MetalpriceAPI.
Step 1: Set up your development environment
You will need a local development environment to create your plugin. You can use a local server like XAMPP or WAMP, or use a local development environment like Local by Flywheel. You will also need a text editor like Visual Studio Code or Sublime Text to write your code.
Step 2: Create a new plugin folder
Go to the wp-content/plugins directory in your WordPress installation and create a new folder for your plugin. Give the folder a descriptive name (e.g., “metalpriceapi-gold-prices”).
Step 3: Create a new PHP file for your plugin
Inside the new folder you created in the previous step, create a new PHP file and name it after your plugin (e.g., “metalpriceapi-gold-prices.php”). This file will be the main file for your plugin.
Step 4: Add the plugin header
Add the plugin header to the top of your PHP file. The plugin header contains metadata about your plugin, like the name, version, and author.
/*
Plugin Name: MetalpriceAPI Gold Prices
Plugin URI: https://yourwebsite.com/
Description: Update gold product prices in WooCommerce with MetalpriceAPI.
Version: 1.0.0
Author: Your Name
Author URI: https://yourwebsite.com/
License: GPL2
*/
Update the metadata with your own information.
Step 5: Add the code snippet to the plugin file
Copy the code snippet we used in the previous tutorial to retrieve the current gold price from MetalpriceAPI and update the prices of the gold products in WooCommerce. Paste the code snippet in your plugin file.
Step 6: Wrap the code in a function
Wrap the code snippet in a function. This allows you to call the function from other parts of your plugin if needed.
function metalpriceapi_update_gold_prices() {
    // Add the code snippet here
}
Step 7: Hook the function to the appropriate action
Hook the function to the appropriate action. In this case, we want to update the gold product prices when the WooCommerce product prices are being retrieved. We will use the woocommerce_product_get_price filter for this.
add_filter( 'woocommerce_product_get_price', 'metalpriceapi_update_gold_prices', 10, 2 );
Step 8: Save the plugin file
Save the plugin file.
Step 9: Activate the plugin
Go to the WordPress dashboard and navigate to Plugins. Find your plugin in the list of plugins and click Activate.
Step 10: Test the plugin
Create a new gold product or edit an existing gold product in WooCommerce. Assign the “gold” term to the product and add a weight value in the product attributes. Save the product and check if the price has been updated based on the current gold price in MetalpriceAPI.
Conclusion
In this tutorial, we have learned how to create a plugin using the code we used in the previous tutorial to update gold product prices in WooCommerce with MetalpriceAPI. By following these steps, you can easily create a plugin that keeps your gold product prices up-to-date with the current market value of gold.